How is cheese made? Tips to make it at home
Cheese is the melty, sometimes crumbly delight that makes everything from pizza to a simple slice of bread infinitely better. But have you ever stopped to think about how this magic is made?
- Sanjukta
- 01 June, 2025
- 2 mins ago

How is cheese made? Tips to make it at home
Cheese is the melty, sometimes crumbly delight that makes everything from pizza to a simple slice of bread infinitely better. But have you ever stopped to think about how this magic is made?
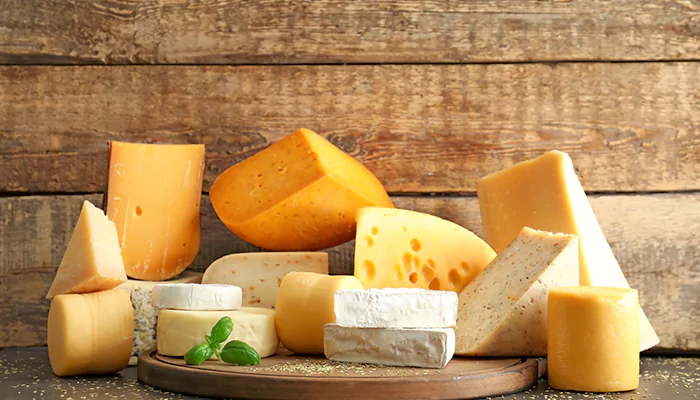
At its core, cheese is simply milk that's been curdled and aged. The magic happens when milk's proteins and fats are separated from the liquid (whey), creating curds. These curds are then processed, aged, and sometimes flavored to produce the variety of cheeses we all know and love. But let’s get into the nitty-gritty of how this actually happens.
While the process of making cheese can vary depending on the type, the basic steps remain the same. Here’s a breakdown:
Milk Selection
Cheese starts with milk—cow, goat, sheep, or even buffalo milk. The type of milk you choose impacts the final flavor and texture of the cheese. For instance, goat’s milk gives a tangy flavor, while cow’s milk is creamy and rich.
Acidification
The milk is gently heated, and an acid or bacteria is added to lower the pH. This acidification process helps the milk proteins (casein) to start coagulating, or forming curds.
Coagulation
Next, rennet (an enzyme) is added to further solidify the curds. Rennet can be animal-based or vegetarian, and it's the secret behind turning liquid milk into a more solid form.
Cutting the Curd
Once the curds form, they’re cut into smaller pieces, which helps to release the whey. The size of the curd pieces affects the final texture of the cheese—smaller curds make firmer cheese, while larger curds result in softer cheese.
Cooking and Stirring
The curds are heated and stirred, which helps them firm up and release more whey. The more you cook and stir, the drier and firmer the cheese will be.
Draining the Whey
The curds are separated from the whey. For soft cheeses like ricotta, this might be the final step, but for harder cheeses, there’s more work to be done.
Molding and Pressing
The curds are placed into molds and pressed to remove any remaining whey. This step also gives the cheese its final shape.
Salting
The cheese is either soaked in a brine solution or salted directly. Salt acts as a preservative and enhances the flavor.
Aging
This is where the magic really happens. Cheese can be aged from a few days to several years. The longer it ages, the more complex and robust the flavor becomes.
Here are some tips for DIY cheesemaking at home:
Start with fresh, high-quality milk
Always choose the best milk you can find. Fresh, local, and preferably non-homogenized milk will give you the best results. If you can get your hands on raw milk, even better! Good milk sets the foundation for delicious cheese. Avoid ultra-pasteurized milk, as it doesn't curdle well, which can be a major cheese-making buzzkill.
Use a digital thermometer
Temperature control is crucial in cheese-making. A digital thermometer helps you keep an eye on the exact temperature, which is key when heating the milk or waiting for it to cool. Too hot or too cold, and your cheese might not turn out as planned.
Don't skip the cheesecloth
Invest in a good-quality cheesecloth or butter muslin. This helps you strain the curds from the whey without losing any of the good stuff. A cheap, flimsy cheesecloth can tear or let curds slip through, leaving you with less cheese and more mess.
Add flavors after the curds form
If you want to get creative with flavors—think herbs, spices, or even dried fruit—add them after the curds have formed and before pressing. This ensures the flavors are well-distributed throughout the cheese.
Don’t overpress the cheese
When it comes to pressing your cheese, don’t go overboard. Too much pressure can squeeze out too much whey, leaving you with a dry, crumbly cheese. Not enough pressure, and your cheese might be too soft. Find a balance, and if you’re using a homemade press, experiment to see what works best. Proper pressing helps achieve that perfect texture.
Age in a controlled environment
If you’re planning to age your cheese, finding the right spot in your home is key. A cool, humid place is ideal—a wine fridge or a basement can work wonders. The right environment ensures your cheese develops flavor without drying out or molding too much.
Taste as you go
Cheese-making is as much about the process as it is about enjoying the results. Taste your curds, taste your whey, taste your cheese at different stages. This helps you understand how the flavors develop and lets you tweak things to your liking next time.


